Grab N’ Go Seed Storage
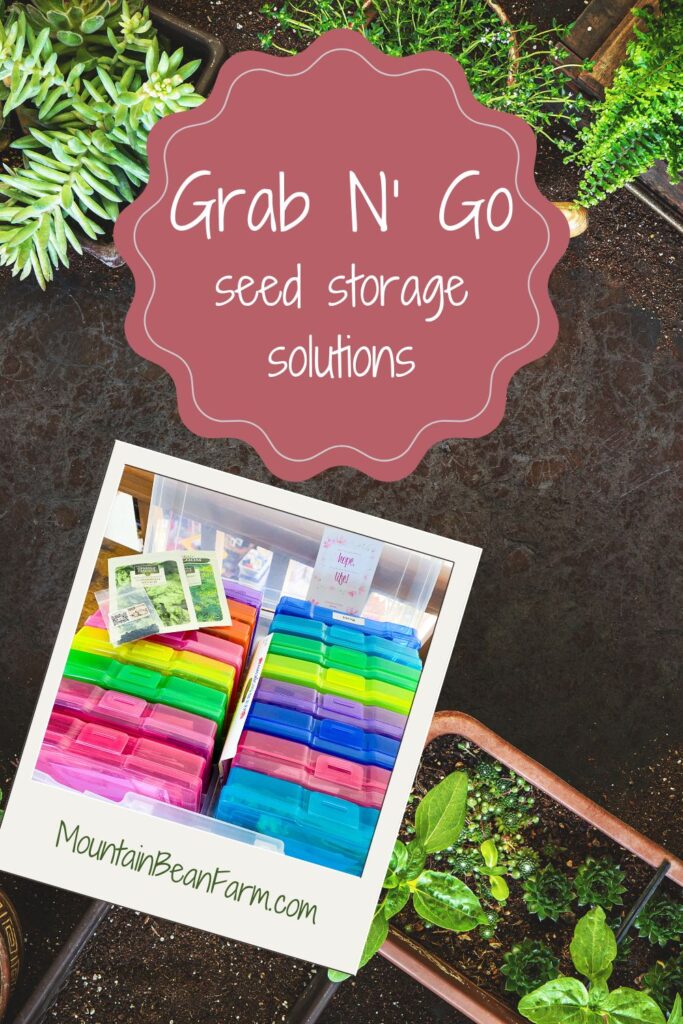
Seed collecting has become as popular as Pokeman used to be. Or pogs if you’re closer to Gen X. The big difference is seeds are a fruitful collection – no pun intended.
As your seed collection grows, there’s myriad of ways to keep, store, and organize all those magical little packets I have spent way too much time organizing and reorganizing those little envelopes,
I needed a lasting solution that wouldn’t cost an arm and a leg, simplified things, and could accommodate the mass amounts of seeds I buy every year.
After a lengthy search on Pinterest and YouTube, I came up with my own method. One that has worked for a few years now.
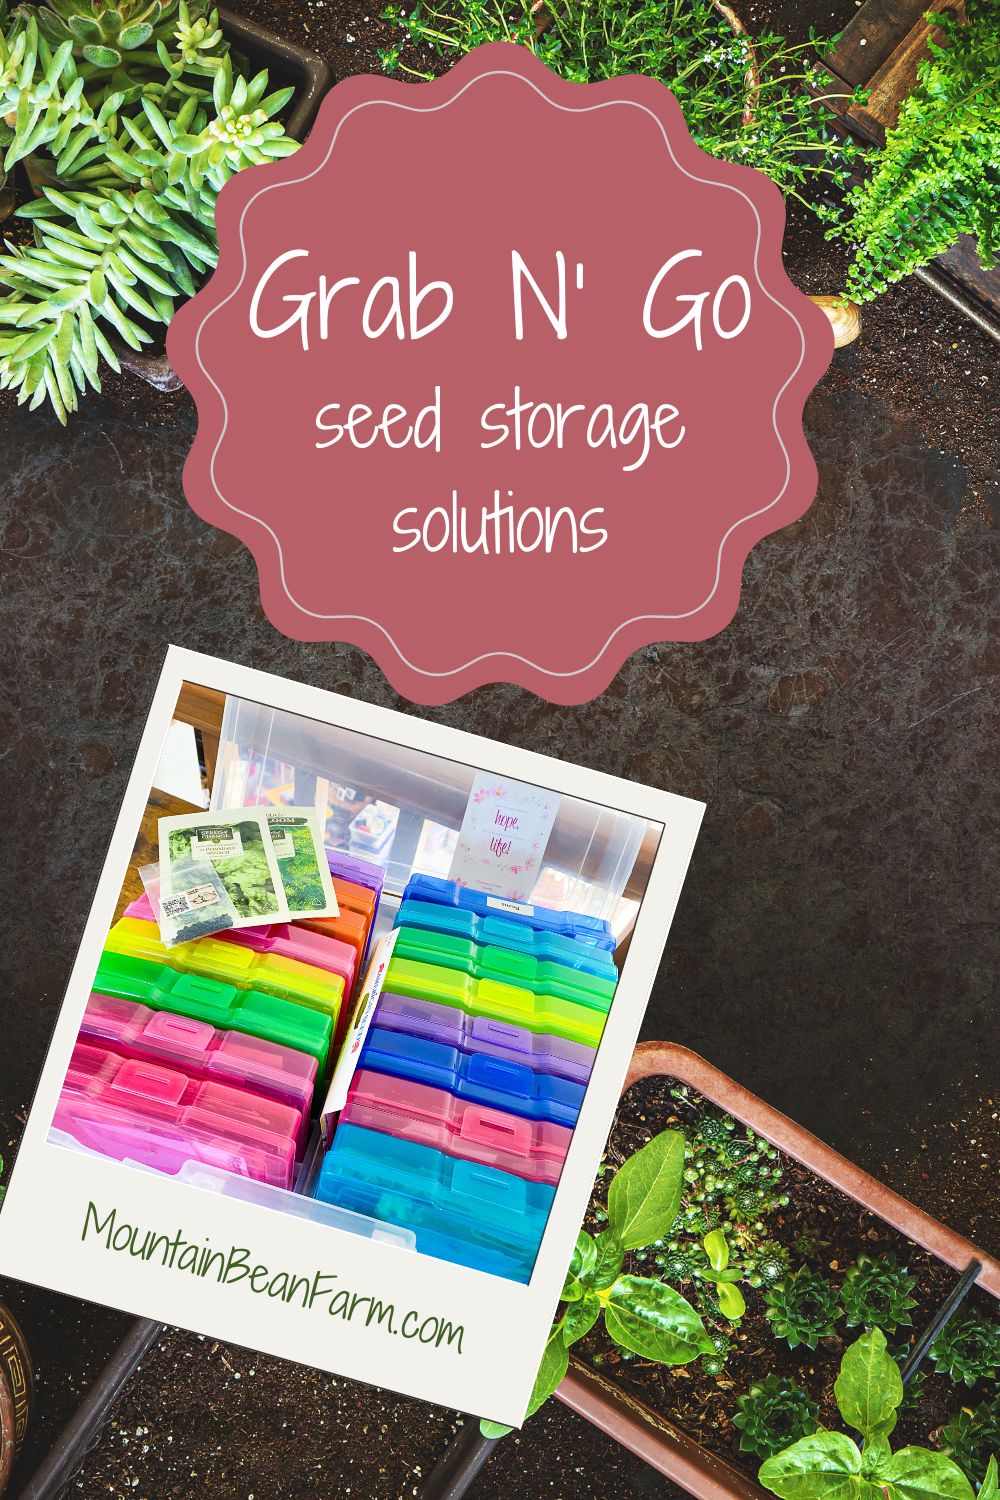
Enter the quintessential photo organizer. Which obviously is not originally my idea. But I have yet to see anyone else categorize them this way. More about that a bit later.
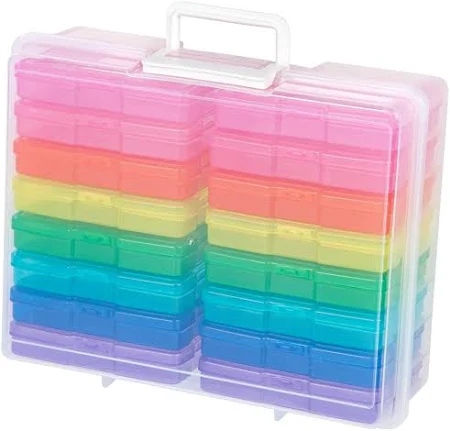
In all honesty, these genius containers can be fairly pricey. I’ve snagged several from Hobby Lobby for $13.99 each. Michael’s and Joann’s craft stores routinely have container sales that are great to take advantage of since their regular price for these puppies is $40+ dollars! (As of 2024). If you’re impatient as I can be, here’s one from Amazon for around $25. Do I think the quality is any different amongnst all these? Not a bit of difference! Though I haven’t tried the one from Amazon.
Then of course there’s a need for a label maker, labels, or just a permanent marker so you know what’s what.
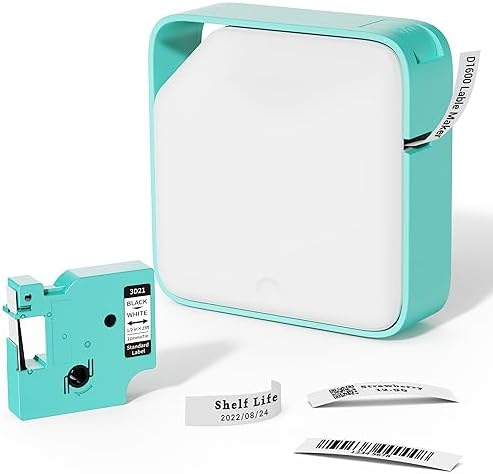
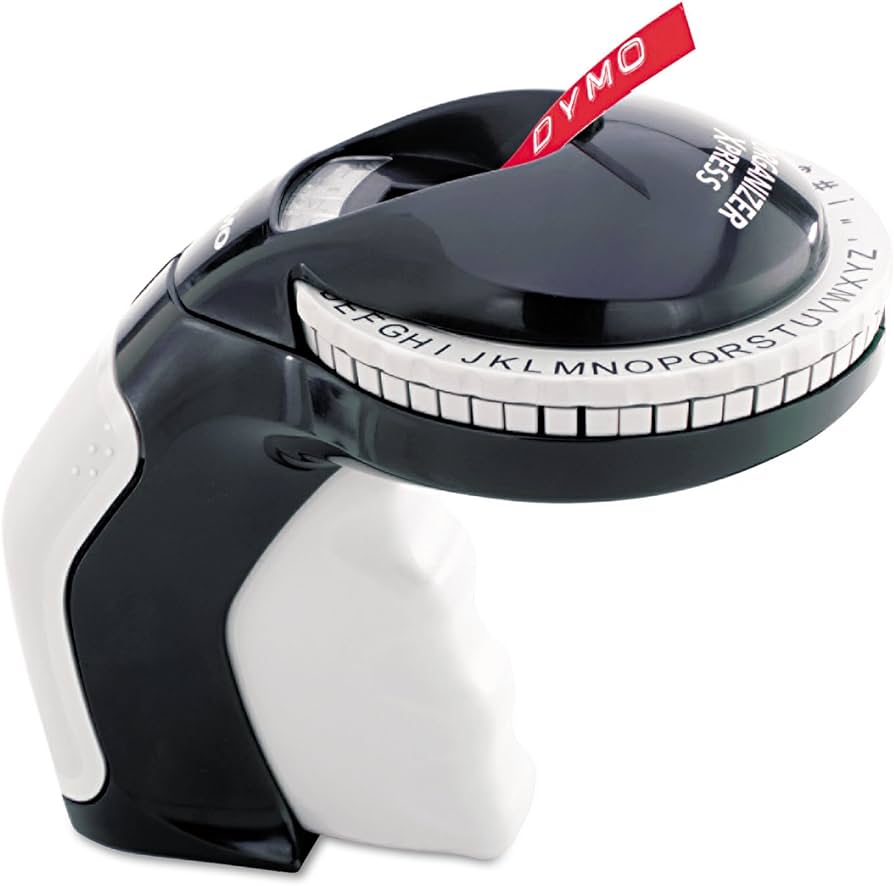
Here’s the two different label makers I have. I used the one on the left, but both are great.
** How to sort your seed packets. **
The first method of organization that comes to mind is by genus. I.e. herbs, cucumbers, melons, flowers, peas, beans, tomatoes, peppers, etc. That was the first way I sorted them. Seemed logical, right?!
Kinda. It was fine. It worked. I knew where each seeds were. Mission accomplished.
Sorta.
The only pain was in the garden planning and gathering. Going through each packet to see when and how to start them. Then gathering everything when it was actually time to start planting.
Okay, pain may be a bit dramatic. My laziness definitely poked her little head out and said, “there has got to be a better way.”
And yes, my slovenly friend, there is.
Instead of grouping them by types, I decided to group seeds by planting dates. Indoor seed-starting all the way through fall direct-sow planting. Let me tell you, this has been life changing!
Again, a bit dramatic, but not really. I love the grab n’ go element this offers. For example, it’s the beginning of December, it’s time to begin indoor seed planting (our last frost is usually the beginning of February), I simply grab the container marked ’12-10 weeks’ and go on my merry way.
No more rifling through mounds of packets pulling out exactly what I’m looking for. Reading and re-reading when certain seeds should be planted and where. Going through piles of packets multiple times looking for those few that I swore I had. Then ultimately finding out that I missed some and the window to plant them now long gone. The struggle was real!
** Here’s how I did it **
The first thing I did was read the back of lots of seed packets and research. Finding when the best time to plant what seeds. Whether it is better to start them indoors or direct sow outside. As I did that, I sorted them into piles using trusty ol’ Post-its. I used Post-Its because I would not remember what was what if I just started throwing things in piles. This may be shocking, but I like to label things.
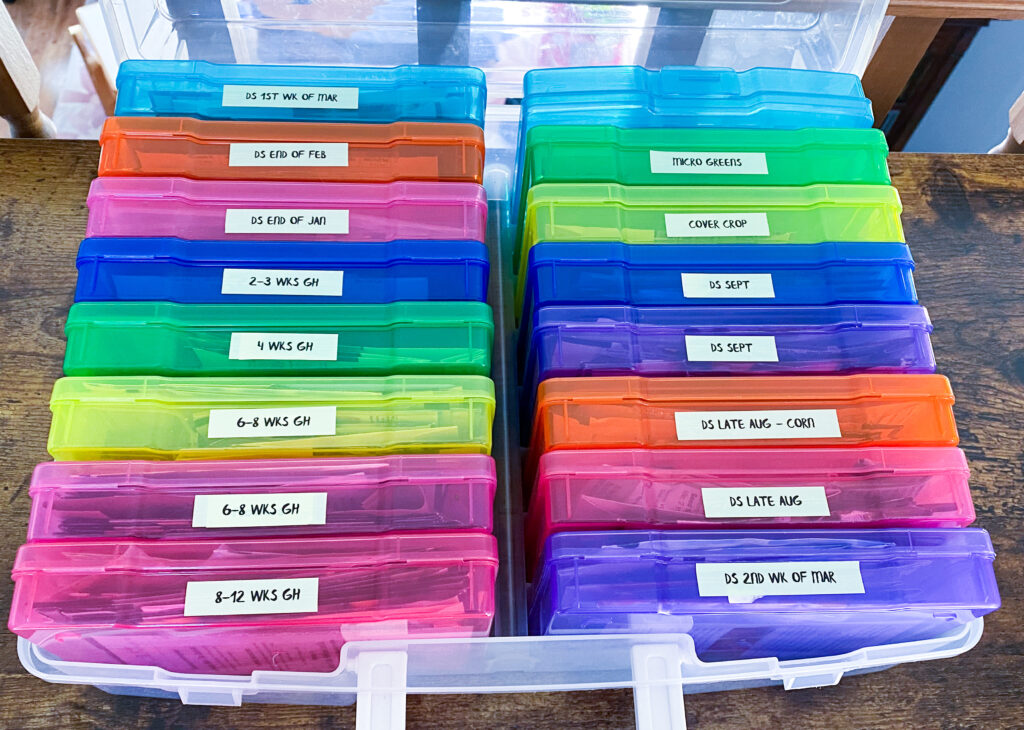
Breaking them down into the following categories:
- Greenhouse 12-10 weeks
- Greenhouse 8-6 weeks
- Greenhouse 4 weeks
- Direct sow end of Jan
- Direct sow beginning of Feb
- Direct sow end of Feb
- Direct sow 1st week of Mar
- Direct sow 2nd week of Mar
- Direct sow late Aug
- Direct sow late Aug – corn
- Direct sow Sept
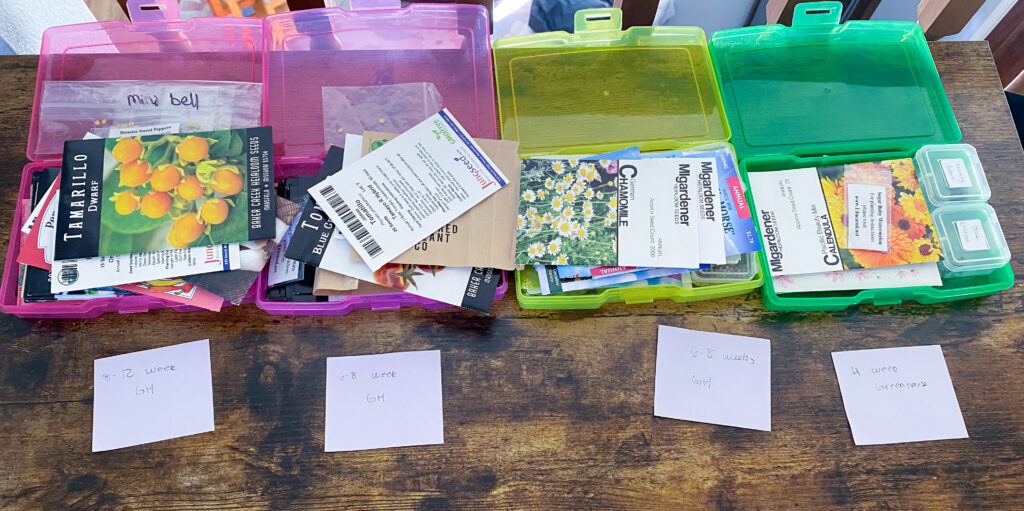
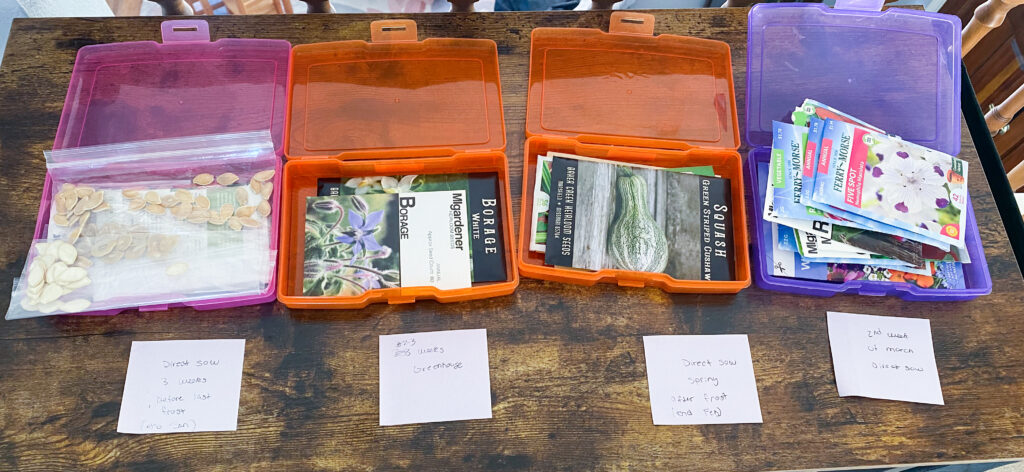
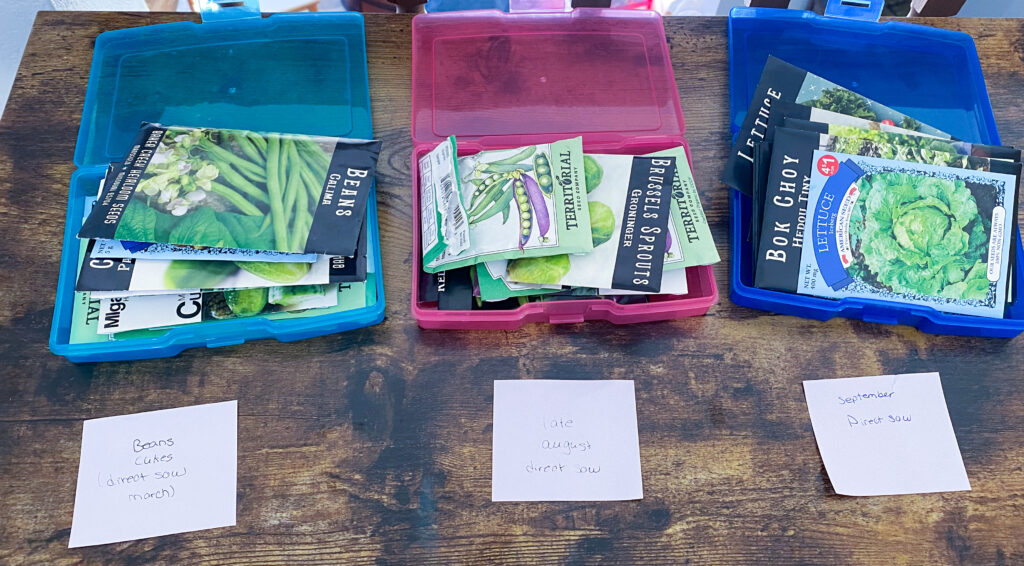
Initially I just threw the packets all willy-nilly into a pile. Not nearly as neat and tidy as the pictures above.
Of course, your categories may differ from mine. I am in zone 9B. A zone where the ground rarely, if ever, freezes. A zone where temperatures can still be in the 90s far into September. Most fall planting takes place whenever it finally really starts to cool down. But I’m always optimistic that August won’t still be scorching hot. Spoiler alert – I’m always wrong but refuse to change the label!
Using the categories above leaves three containers free. I recently put some microgreen seeds in one since I can grow those all year in the kitchen window.
Cover crops in another. I have been experimenting with a few beds that are empty during the fall and winter. It’s too early to tell if it makes a difference or not.
Not that I really know what I’m doing there, just experimenting.
The last one has nothing but strawberry seeds. The only strawberry plants that I can find locally seem to be limited to two or three varieties. Mostly Quinalt and one to two other everbearing varieties.
Very boring.
For a few years now, I’ve been growing a few other varieties successfully such as pine berries. If you decide to try growing strawberries from seed, don’t forget to give your strawberry seeds the best chance by stratifying your seeds before planting. In order to do that, throw them in the freezer, not a deep freeze, three to four weeks before you plan to start them indoors.
** Labeling **
Now that you have some lovely little piles, it’s time to put them into containers and pull out your label maker.
Is a label maker required? Absolutely not! I just happen to really enjoy using mine. It’s the small little luxuries.
There are plenty of other options. Try using paper tape, blank labels/sticker paper, or transparent tape and a marker. I would not recommend writing directly onto the container. What if you want to change the category at any point? It’s much easier to pull tape off than scrub off marker.
Placing the packets into the containers, make sure not to over pack them. You don’t want to crush the seeds, but they can be snug.
I also used a few abbreviations: GH= Greenhouse, DS= Direct sow. Label maker tape can get a bit expensive!
** Organizational Order **
Once everything is securely put away and labelled, place them into the bigger container in the order you plan on planting.
One thing I like to do after I plant the seeds in one container is replace it upside down so the label is hidden. The next time I go to plant, I just grab the next label-showing container.
Really, I’m putting all this time and effort into organizing so that later down the road I can operate, successfully, with as little effort as possible. It also eliminates a lot of errors, frustrations, and multiple trips to gather packets and seeds.
** Benefits **
As much as I enjoy playing in the dirt, sometimes I just don’t have hours and hours to plant all the seeds I would like. Not only does this help cut back on the time it used to take rummaging through packets and packets of seeds, but it’s also much less overwhelming. No longer am I staring at hundreds of packets. Now I only deal with exactly the amount I need to at the time I am planting them.
This has also saved me money. For years I would order seeds I thought I had run out of only to find one, or more, packets I just missed in all my rummaging.
When I say it saves me money, what I really mean is that instead of spending money on more duplicates, I can spend that money on seeds I didn’t have!
While seed can last for quite a while, I don’t want any to go to waste. I spent my hard earned money to get all these. The last thing I want is to have a ridiculously low germination rate because I had them for far too long.
Which leads me to this…
** Where to Put Your Container **
Maybe the most important thing about seed storage – where. Now the ideal temperature is about 40 degrees Fahrenheit. Unless you have a ton of extra room in your fridge, that’s not likely to happen. Store your seeds in a dark, cool place. Outside in the shed may not be ideal if you live in a place that spends 6 or more months above 90 degrees. Or if you live in the exact opposite where it temps consistently fall below freezing.
Find a nice quiet, dry place in a closet or cupboard. If you are located in a temperate location where it is consistently pretty cool, feel free to store them in an outdoor shed or garage. Please do not store your seeds someplace they can get wet or exposed to direct sunlight. You might go to plant them and find your seeds have sprouted in their packets. Or worse, mold!
After having said all this, do you really need this container?
NO!
You can also use things you have around the house. Plastic Ziplock bags, a Sharpie, and a cardboard box. Even a binder, page protectors, and some labels will do.
While I really like this storage box (a hard plastic container that I can pile things on, plus a handle!), it is not necessary. The point is really how you categorize to save time and prevent headaches when it comes time to getting your seeds in the ground, greenhouse, pot, or raised bed.
I am just a sucker for a nice plastic storage box that can take some abuse as I drag it out into the garden.
Let me know how you organize your seeds!
