Cross-Stitch Must Haves
Just starting on your cross-stitch journey? Here are some simple supplies and tips to ensure your project doesn’t end up in knots.
If you are a bit unsure how to cross stitch, this is not the article for you. Need to learn the basics of cross stitching? Check out this post for a detailed tutorial.
Otherwise, continue reading for a list of supplies you should have handy to make your project as enjoyable as possible.
Pattern
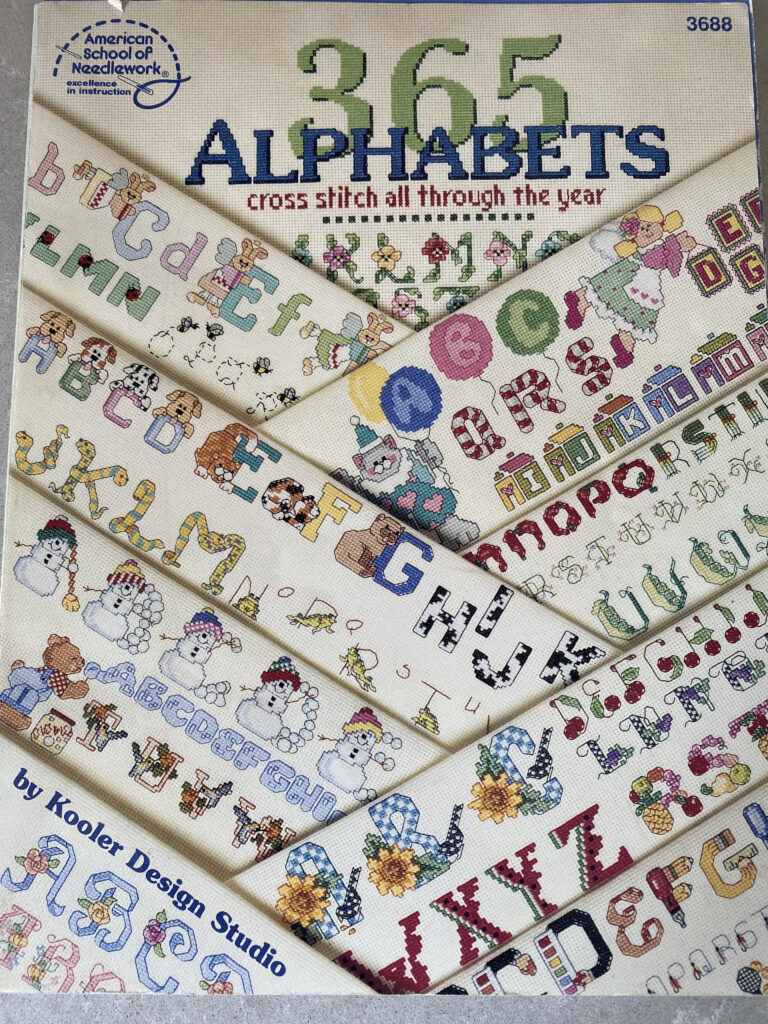
The next thing you will need, after you have secured your crafting drive, is a pattern. There are many places to get ahold of any style of pattern. The internet has loads of free patterns – just search ‘free cross stitch pattern’. Know what type of design you would like to try? Throw that in the search bar as well.
Your local craft store will most likely carry kits that include everything you will need. Personally, I find them a bit pricey. But if convenience is what you are looking for, it is a great option.
Also at craft stores, you can find books full of themed patterns. Unless you are planning to do at least 2-3 projects from a book, it might not be worth it.
Local libraries are also a great resource. Just like crafty friends and that old box of craft things gathering dust in your grandmother’s attic – you never know.
Once you have selected your pattern, there is one thing I recommend – PRINT IT OUT!
Yes, technology has become ridiculously convenient. But it may not be the best option when following a cross-stitch pattern.
Here’s why: If we don’t write things down, we WILL forget. The same goes for cross stitching! Unless you are completing a pattern that is printed on the cross-stitch cloth, you WILL forget where you are on the pattern. Those little X’s are super tiny. No one has time to count how many rows or stitches you have completed to find out where you left off.
Even if the pattern is in a book or pamphlet, photocopy it. A backup is never a bad idea.
Which brings me to the next item you should have:
Highlighter
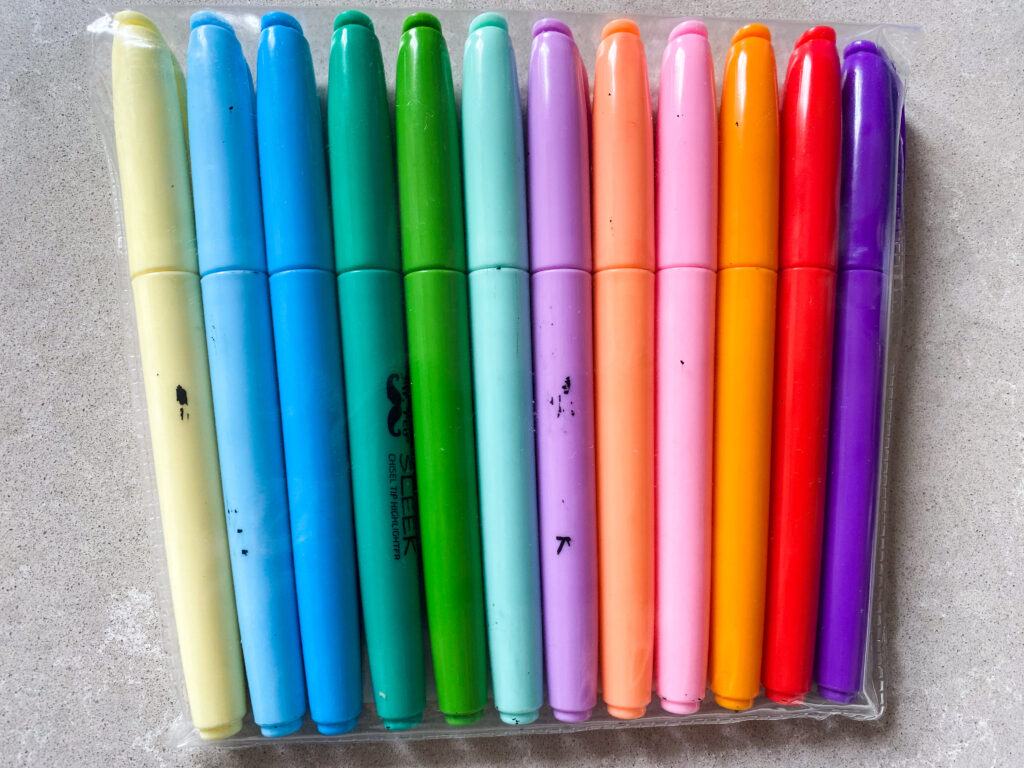
Why a highlighter instead of a pen, pencil, or marker? Simple, you can still see the pattern symbols through the highlighter. While working through your pattern, you will undoubtedly question whether or not you did the correct amount of stitches. If you cannot see the symbols of what you have done – well, it makes it very difficult to figure it out. These are my favorite.
What I like to do is highlight what I have done the moment I finish that specific color on that specific row, as I do it. Now, if it is a very long row or a large number of stitches, I will stitch ten, highlight, stitch ten, highlight, and so on.
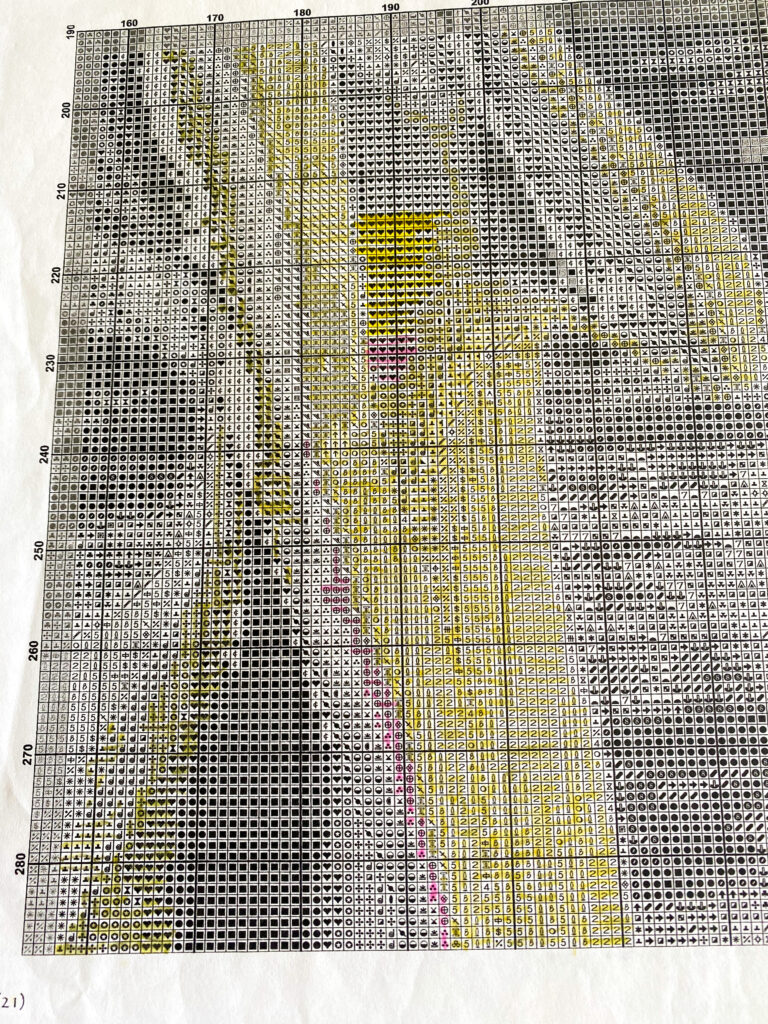
That is also why making a copy of your pattern is so helpful. If you ever want to repeat the project, you will have an unmarked pattern to use. Or, more importantly, if you mess up and need to begin again, you will have a clean sheet.
A pen or pencil can also be helpful if you need to make any notes.
Now, you have your pattern and highlighter. Next you will need:
Cross Stitch Fabric
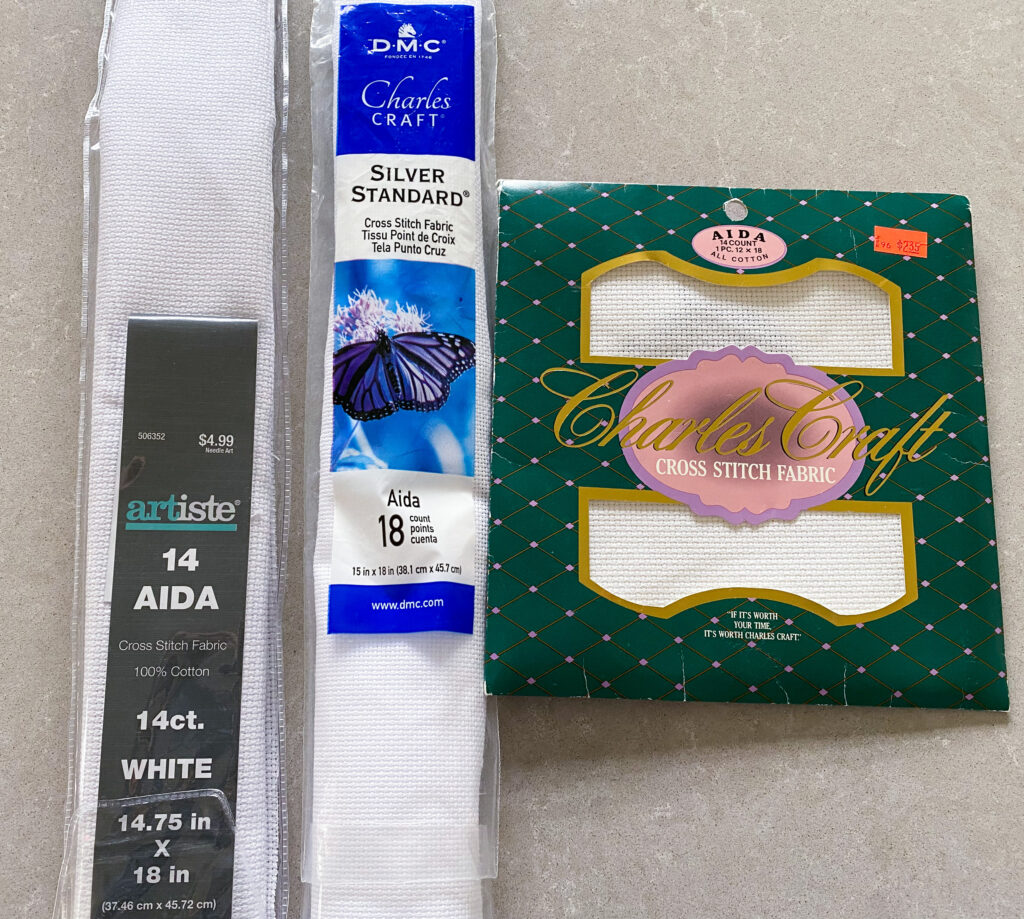
Each pattern will tell you what count fabric it calls for – 16 count, 18 count, 14 count, and so on.
The number determines how tiny or large your X’s will be. Do you have to use the exact one the pattern calls for? No.
That being said, using a different gauge will alter the size of the finished piece. It can potentially alter the overall look depending on how detailed the piece is. Until you have a good feel for how the different gauges work, I recommend sticking with what the pattern recommends.
Make sure to pay attention to the dimensions of the finished piece and the dimensions of the fabric. You do NOT want to get to the last parts of your project only to discover that your fabric is too small!! Trust me…
Cross stitch fabric also comes in a variety of colors.
Once you have your fabric there is one more thing I recommend you do to it before anything. And this is what you need to do it:
Masking Tape
Masking tape? For cross stitching? Yup.
Cross stitch fabric is basically a series of stiff, thick threads woven into a lattice design. There are no finished hems. So, it WILL unravel!
Some people like to iron the cloth so it lays flat since it is sold either in a roll or folded into squares. Obviously the fabric that is sold in a square has creases. Once you cross stitch over the creases, they do disappear. I have never felt the need to iron the fabric before use. It is totally a preference thing. Plus, I’m not a fan of ironing.
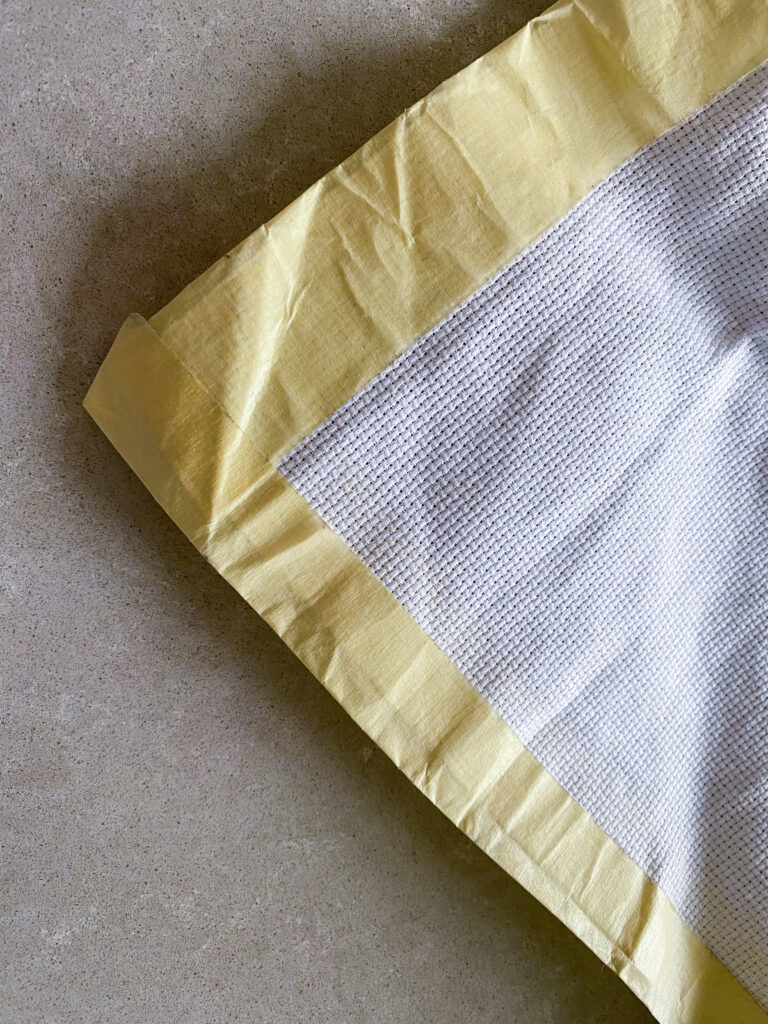
To prevent unravelling, lay your ironed or creased fabric out as flat as you can. Using masking tape, paper tape, or painter’s tape, tape ALL four edges. DO NOT use duct tape or clear tape. Both will either never come off or leave a horrible residue behind.
If your finished piece is in a shape other than a square and you want to accentuate that, wait until your piece is done. Stick with the square!
Stretch the tape across one side. Laying the top half of the tape onto the fabric. Fold the bottom half under and adhere it to the other side. Repeat on the other three sides.
Now that your fabric is secured and your pattern is in hand, you need your:
Cross Stitch Frames
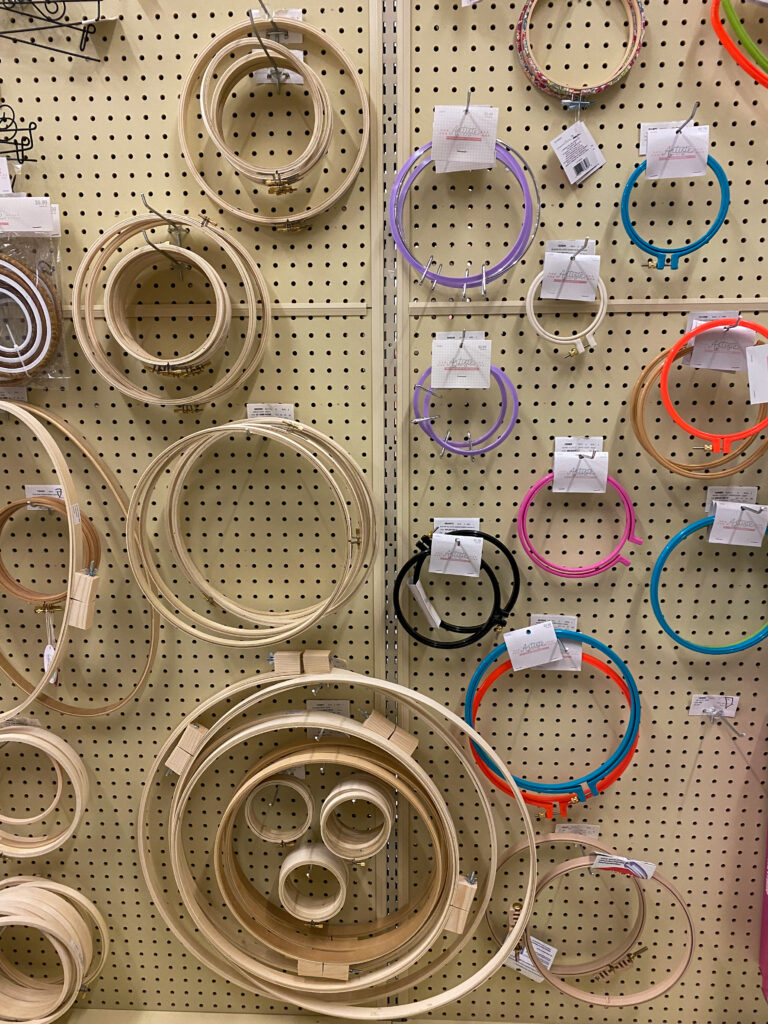
There are many sizes and kinds. This is half preference and half common sense.
If your finished piece is over 5”, don’t get a 3” ring. On the adverse, the larger the ring, the more you have to hold. That being said, if you have chosen a very large piece, first of all – good for you! There is another option for the REALLY large pieces.
A scroll frame. I invested in one a while ago for some bigger pieces I wanted to do – I love it!
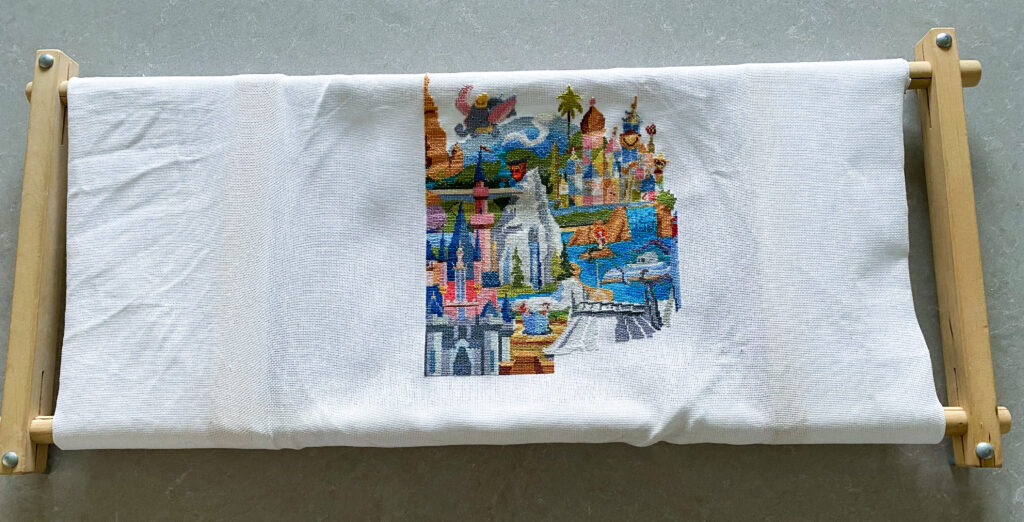
Also keep this in mind. Once you have stitched more than fits in your frame’s diameter, you are going to have to move your work. That means some of the stitches can be affected by being cramped in the frame or just by your touch.
WASH YOUR HANDS!
Not because I’m a germaphobe. Oils, lotions, dirt, and anything on your hands will transfer onto your work!
When cross stitching, you are going to want some way to keep your work taught. If not your stitches could be uneven, the fabric warped by uneven tension.
Floss ( AKA Thread)
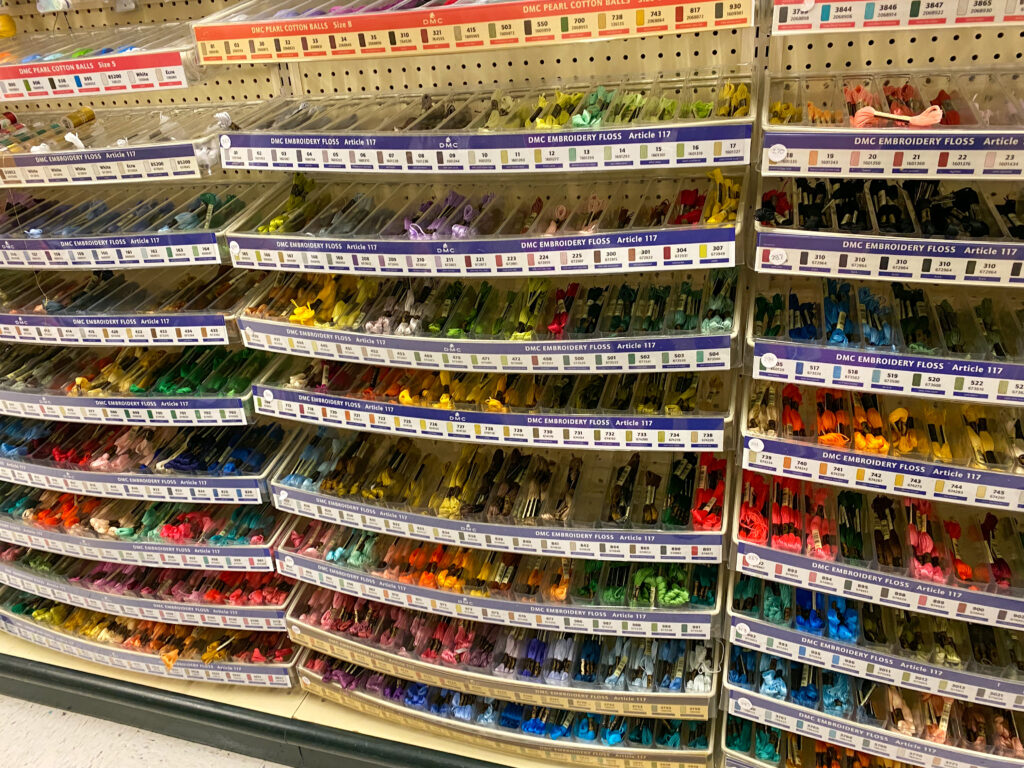
Call me weird – most do – but to me it is thread. I do understand that sewing thread is very different but…
The powers that be decided that this material will be called floss. And no, not all floss is created equally.
In your pattern, there will be a key. A diagram showing what color each symbol signifies. Each color is denoted by a number and color name.
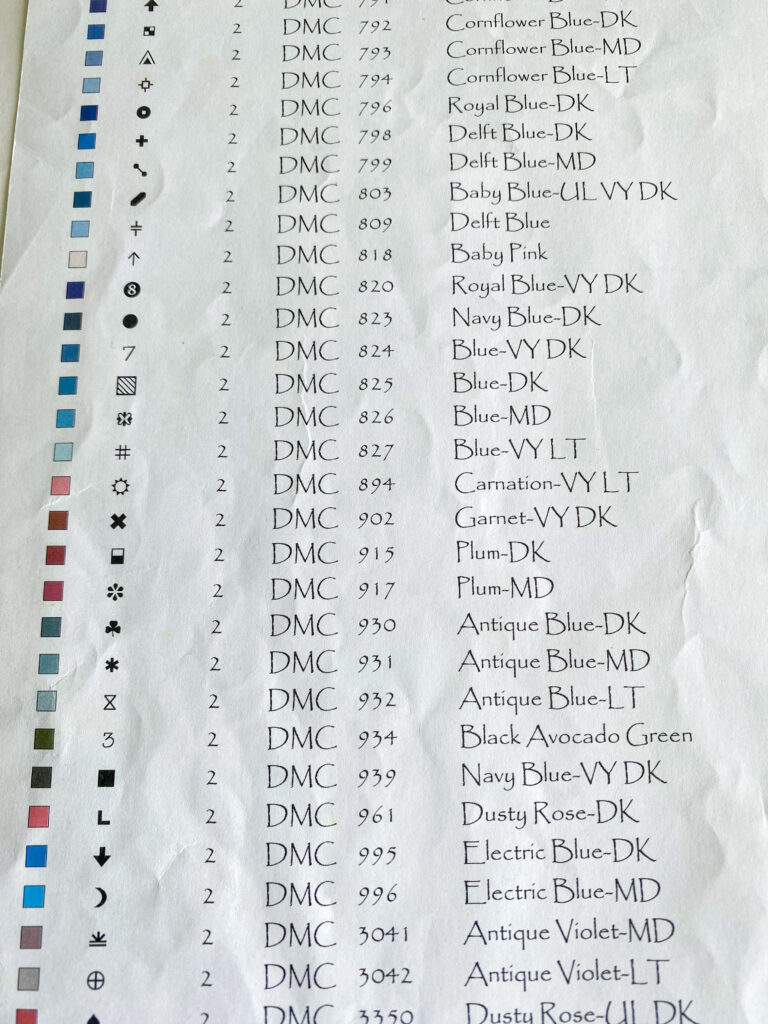
DMC is the universal brand that the numbers will coincide with unless stated otherwise. At least that is true in the United States.
Do not think, ‘hey, I have a ton of sewing thread. I will use that.’ Not that same.
Make a list of all the colors/numbers you need and take it to the craft store.
Most larger patterns will also have a skein count letting you know how many of each color is predicted to complete the project. Smaller ones usually don’t provide that information because no more than 1 skein of each color is needed.
If your pattern doesn’t provide a skein (or measurement) count, and you think a color or two will be used a whole lot, err on the side of caution and grab more than one skein of that color.
The pattern will also tell you how many strands are used.
Each floss contains 6 strands. It is very unlikely that you will use all six strands at once.
When working, cut a length of floss and carefully divide the strands as recommended. 3 strands seems to be the most common. For the super tiny X’s, 2 is more likely.
Needles
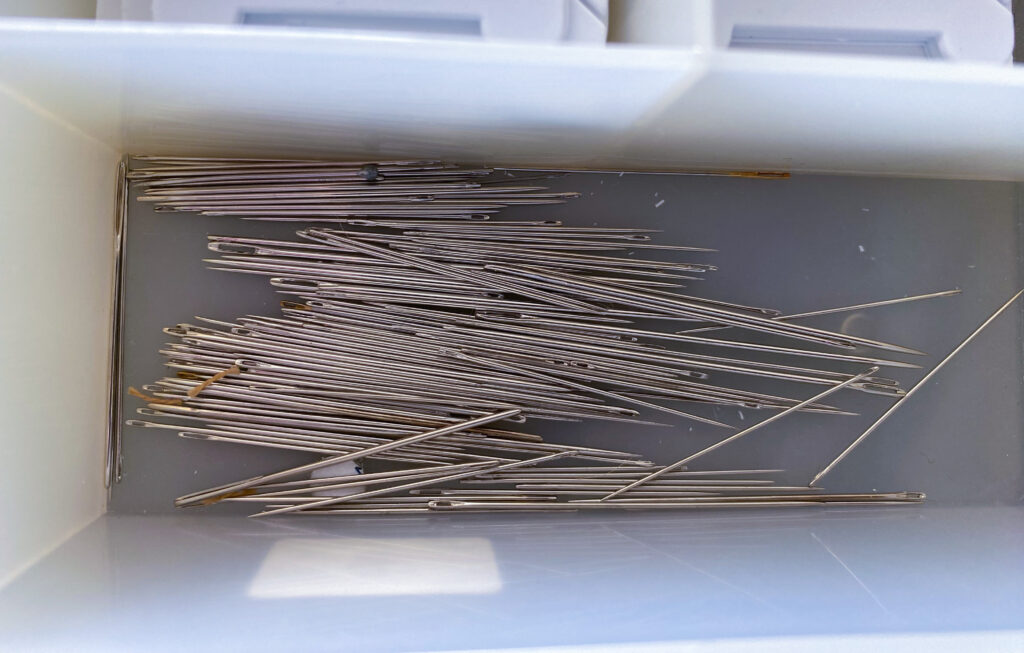
The tool you need to get the floss into the pattern of your choosing.
Again, please don’t think, ‘I have a bunch of needles for my sewing machine.’ They won’t work well. Any hand sewing needle will do. Such as these.
Personally, I go to my local dollar store and grab a big pack of needles.
EXPERT TIP: Don’t like threading a needle every time you have to change the color you are using? Get enough needles to use 1 needle per color – Life changer!!
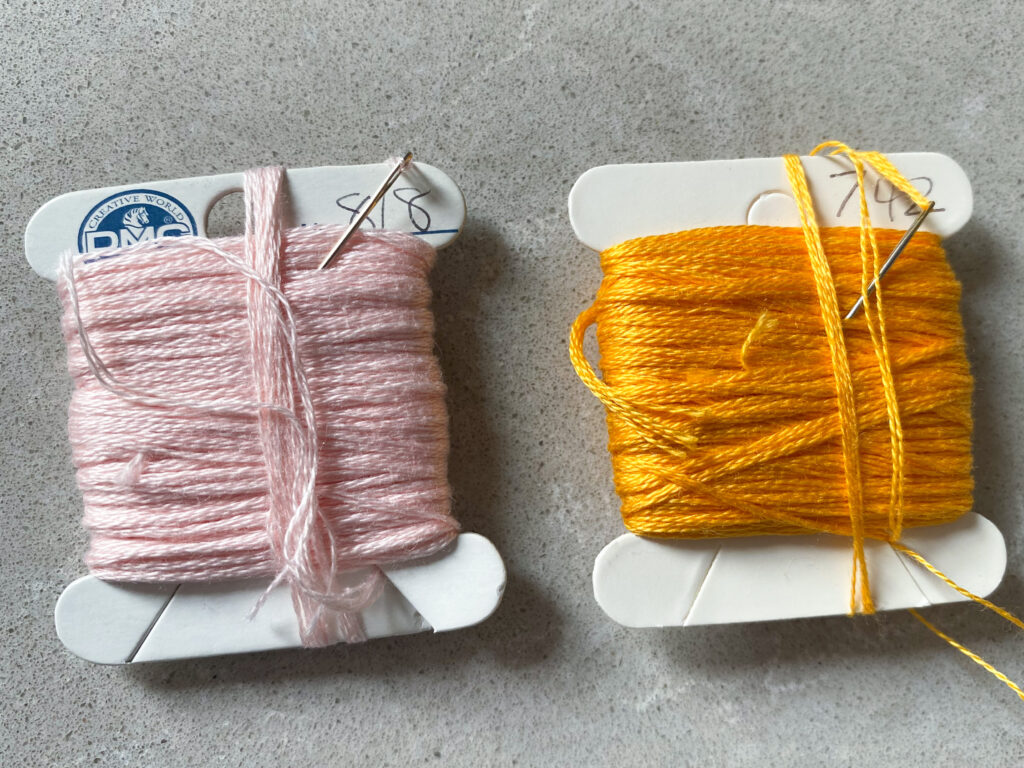
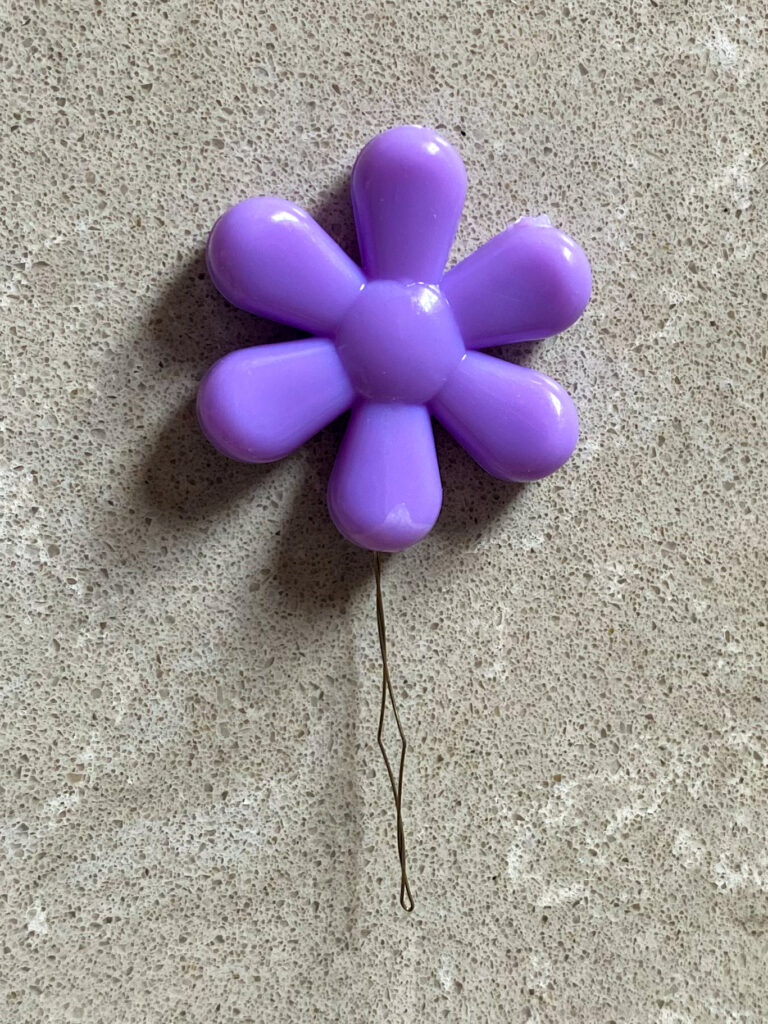
If you have trouble threading a needle, there is also a handy tool for that. Here is one option.
Floss Bobbins
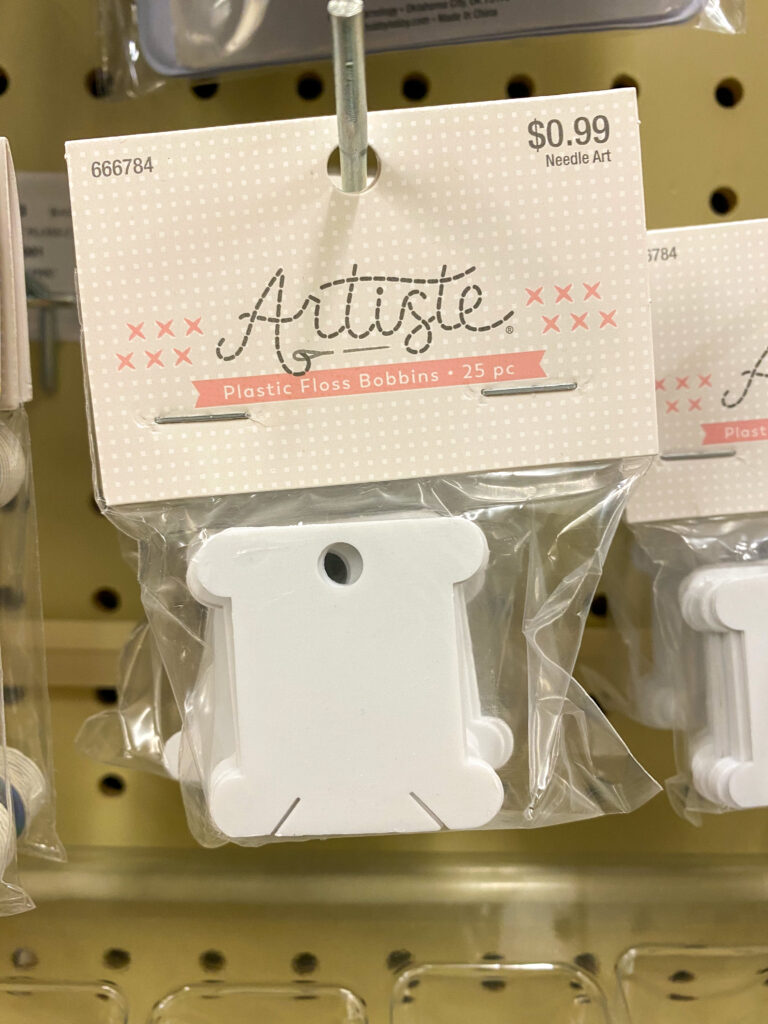
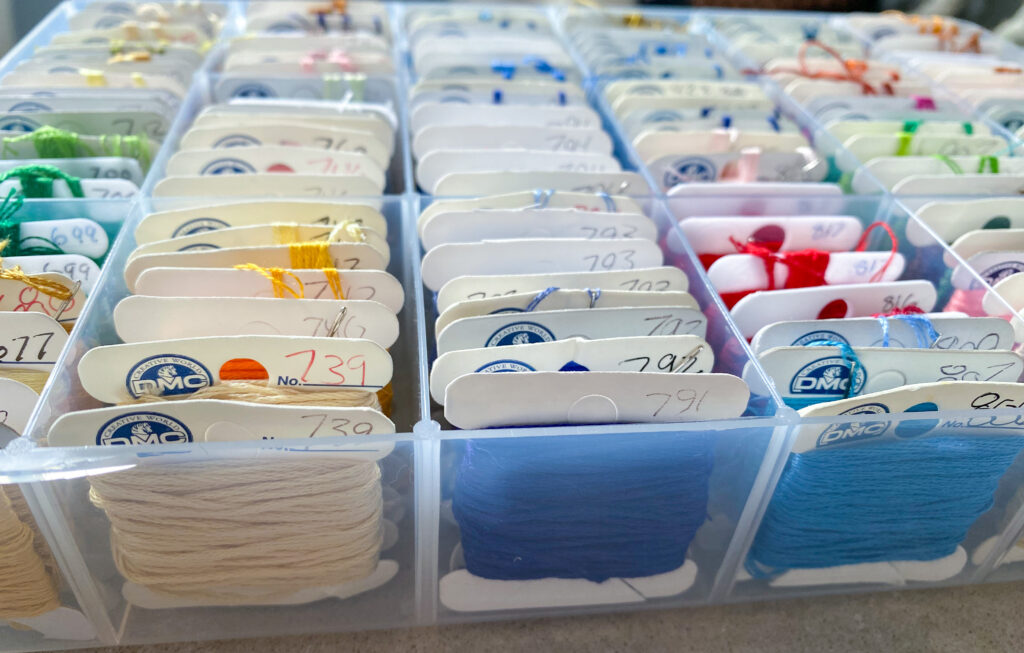
Once the little papers holding the floss neatly in its skein shape is removed, all bets are off. It may not be as bad as yarn unraveling, but knots are far more tedious to remove.
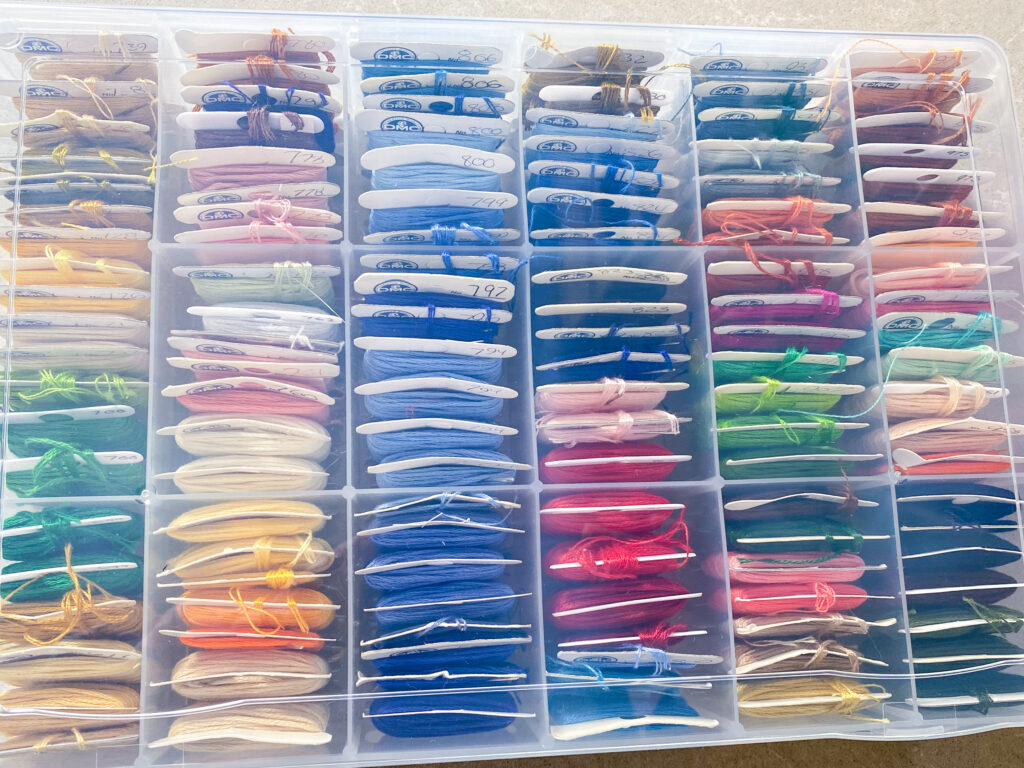
I recommend these lovely helpers. Floss bobbins come in cardboard and plastic. Write the color number on it and spool away. It is a good option to keep your floss neat and organized in some sort of container such as this. And keep tangle free!
There is one more crucial item:
Scissors
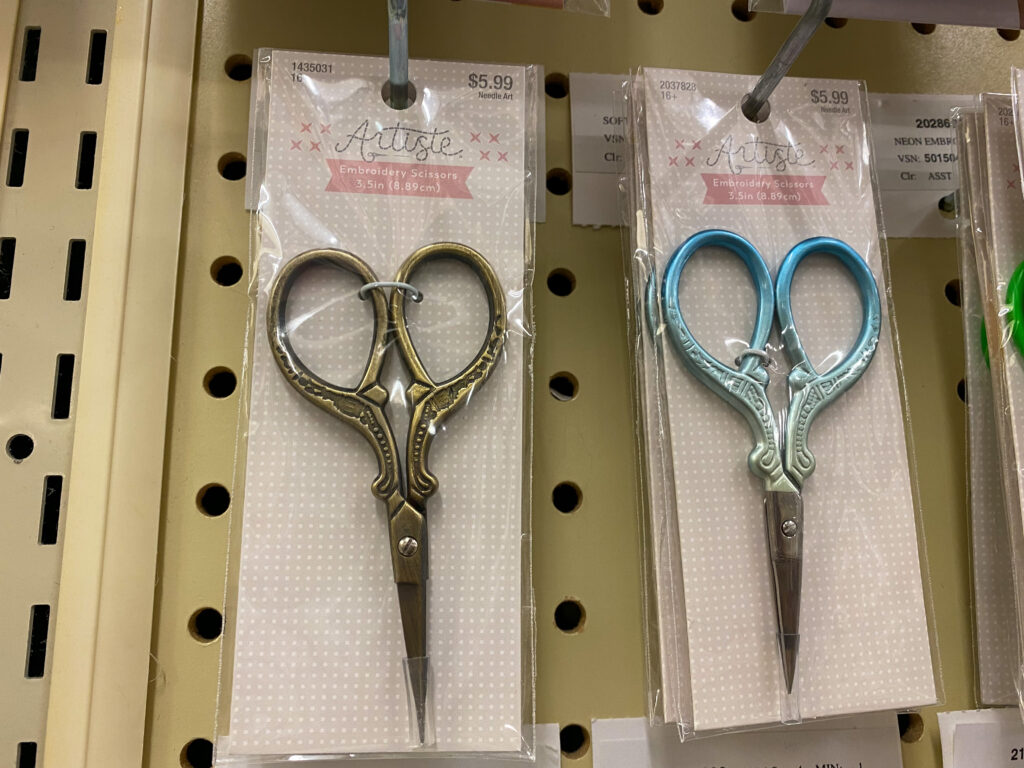
And no, your kitchen scissors will not always suffice. Think of how tiny your stitches will be. Now think how big the tips of typical scissors are.
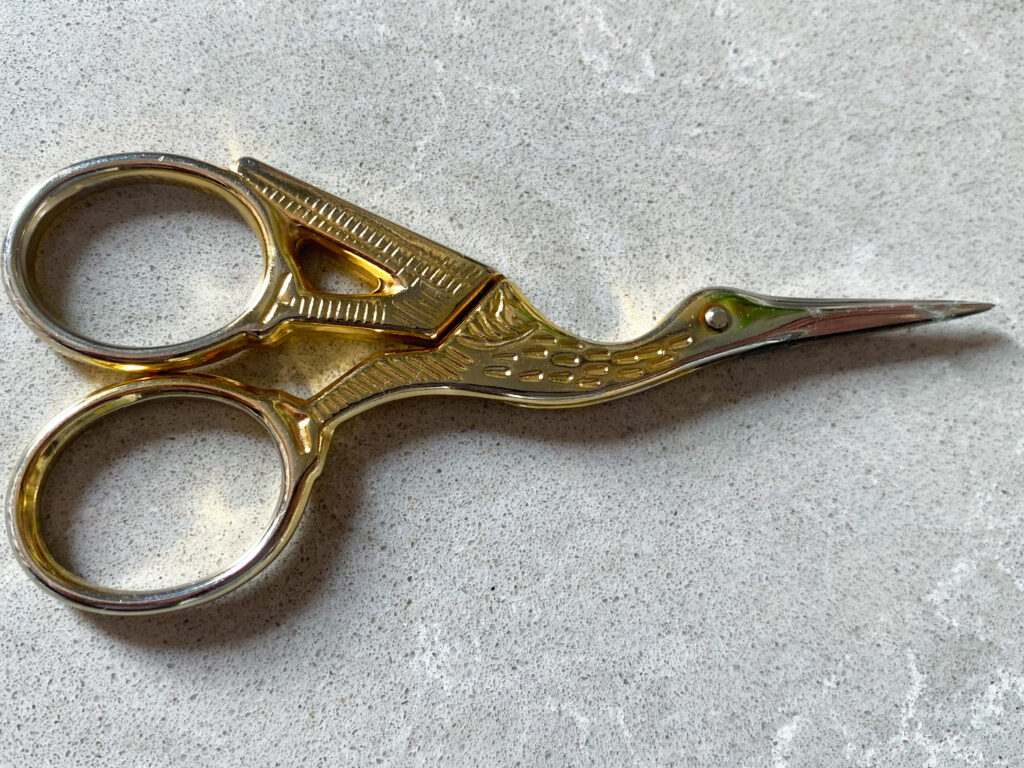
Yes, most of the time you will only be cutting the lengths of floss you need to thread your needle. BUT, it is highly unlikely that you will not make a single mistake along you project journey. Unless you want to risk cutting your fabric, you will need small, sharp scissors.
These crane scissors can be found at most crafts store. I personally love them!
And now, you are ready!!
Cross stitching can be very satisfying and calming. Plus, having a finished project to either give as a gift or keep for yourself is very rewarding. Like with any new venture, have fun, don’t give up, and have patience. It will be worth it!!
In case you would like a few more items to help you on your project, here are some recommendations of things I like to have around but are not crucial.
Glasses/magnifying glass
Started a project recently? Tell me all about it!!
