
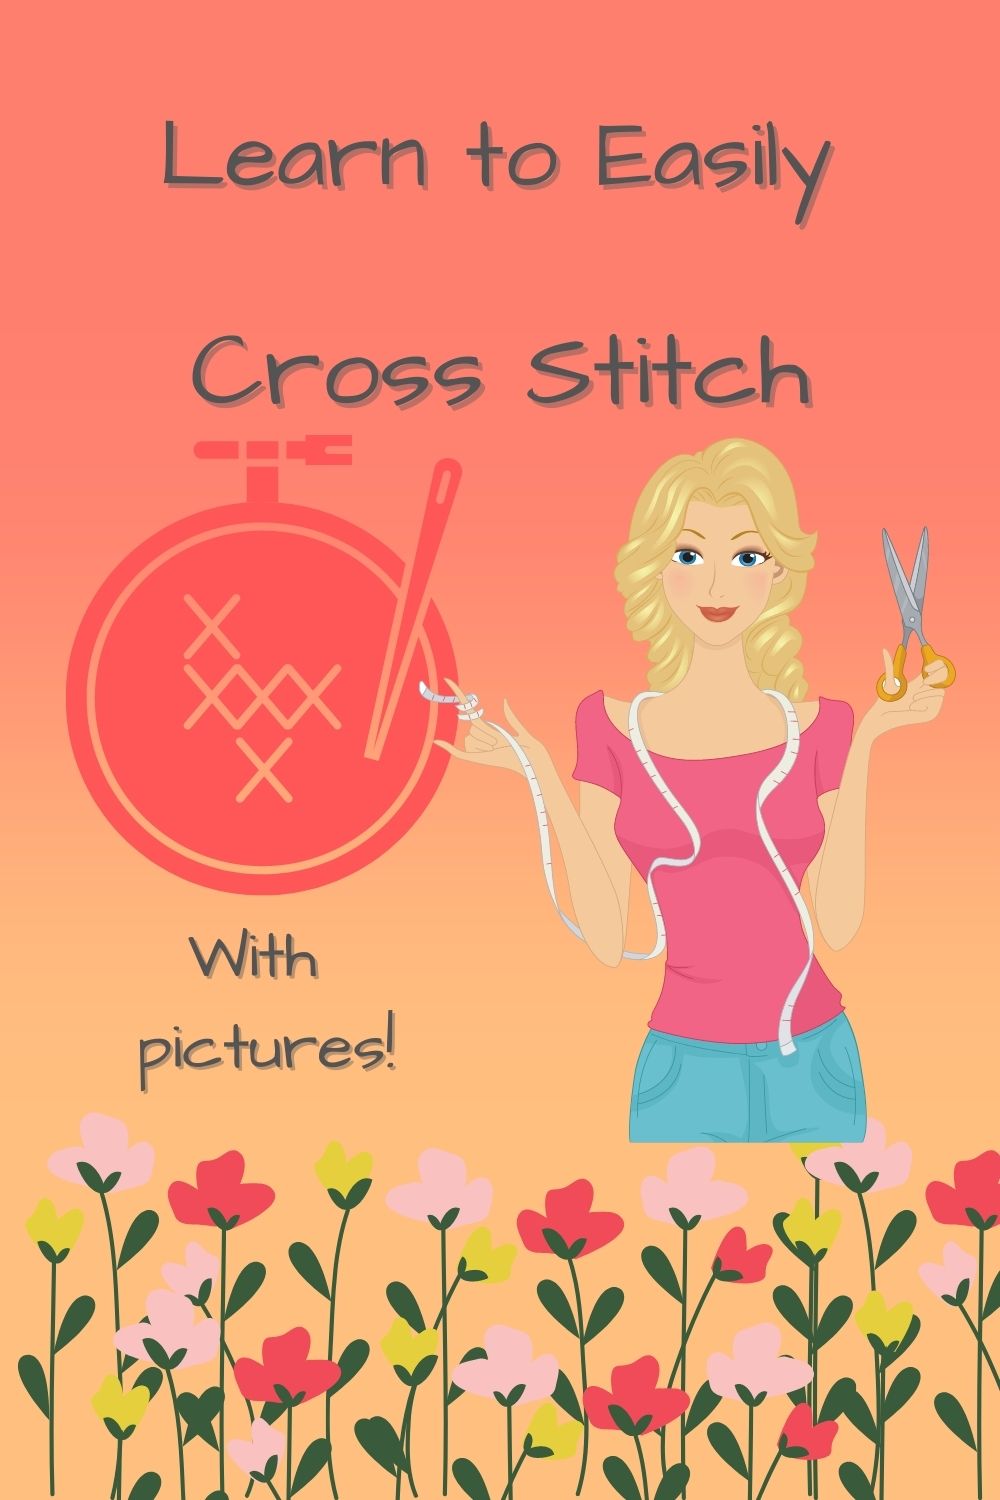
(With Pictures)
Welcome! And congrats on taking the first step to becoming a cross-stitcher.
First thing to know is that learning how to cross stitch is super easy!
To start, gather your supplies.
Check out this post to see what you might need.
If you have everything already, let’s get started!
1. Prep
Once you have your project selected and your cross stitch fabric, prep the fabric. Some come rolled while others folded. You do NOT need to iron out any creases. In fact, in a bit, I’m going to ask you to fold it. But of course, you do what you need to do. But please, if you choose to iron your fabric, do so on a low setting dry – without steam.
I like to tape the edges of my fabric to prevent any fraying. It is ridiculously frustrating to get into a project only to have it start unraveling.
Paper tape, masking tape, painters tape, how ever you refer to it, is the best type to use. Please do not use duct tape or regular office tape. Duct tape, if you can successfully pry it off, will leave a nasty residue on the fabric. Office tape, or transparent tape, comes off too easily when handling it so much.
This is the type of fabric I am using. These step are used no matter what size your project or fabric count may be.
As long as you choose a fabric BIGGER than your finished project!

To start a project, it is best to start in the center. Trying to guess where the top, bottom, or sides will end never works out well. Trust me!
To easily find the center, fold your fabric in half length-wise.

Then fold in half again on the short side.

Pinch to mark the center of your fabric. After carefully unfolding, place a safety pin to mark the center.

Secure fabric in frame.

Make sure you have the correct sized frame. Fabric should be pulled taught and even. The fabric should not be distorted. Pull too tight and you can skew the fabric. At the same time there shouldn’t be a lot of slack. Go slowly.
2. Floss
No, it’s not time to practice dental hygiene. Floss and thread are not equal. Thread is spun onto spools intended for sewing and is not very compatible with cross stitching.
Find the center of your pattern and grab the corresponding floss which is way too big to use as is. Not only will it not fit through the eye of a needle, but is way too chunky for the fabric. Time to separate some strands.
Start by cutting about an 18” long piece. Of course you can cut longer of shorted if you would like. Shorter and you will have to thread your needle more often – not fun. Longer and the thread tends to knot – also not fun. You don’t have to necessarily get out your ruler though. Personally, I measure from the tips of my fingers to the crook of my elbow. It’s not exactly 18″ but it is close enough.
Separate the number of strands indicated by the pattern and the size of fabric; 2-3 strands is common. I am using three. When separating go slowly. If you pull to quickly the thread will become one big knot. Starting to sense a pattern? Floss is finicky!! Slow and steady is the key.

Begin to pull sections apart. Stopping to occasionally untwist the length. Trying to use brute strength and just pull with all your might will only earn you an impressively large know.

Now take a deep breath and grab one of your needles. However you can do it, thread your needle. Be sure to keep one side only about ½ the length of the other. DO NOT KNOT! Knots and cross stitch are clearly not friends. There is no need to use knots on your cross-stitch projects. To secure thread, you can stitch over the tail. And when done with a color, pass the needle through previous stitches. Knots can cause lumps in your piece or block the way for your needle to pass.
3. Time to Cross-Stitch
Think of a cross-stitch stitch as marking an X within a square, a hole denoting each corner. Start from the back side of your fabric. That hole will be the lower left corner of your first stitch. Don’t pull the thread too quickly, you might pull it all the way through. Since there is no knot to stop the floss, just go slowly.

Once you have about a ¼” tail in the back hold it with one finger to anchor it in place.

From the front, insert needle into the upper right hole making a stitch diagonally to the right. Again, don’t pull too quickly or tightly. The thread should rest, flat, against the fabric. Pull to tightly and you can distort the fabric. Your needle should now be at the back of your work.

Now you have the first half of your first full cross-stitch! Isn’t it cute?

Insert needle into the hole directly below the last one you used from the back. From the front, insert the needleinto the one diagonally up to the right. Repeat as many times as the pattern calls for. It should look something like this.
This is how it should look if your pattern calls for five(5) whole stitches.

Now to complete the stitch. Do the same thing in the opposite direction. Always begin on the bottom right hole and crossing over to the upper left.


One completed stitch!

Continue inserting the needle, from the back, into the bottom right, gently pull floss through. Insert, from the front, in the upper left. Do so until all you stitches are complete.
They look like a row of chubby Xs. If there is space of fabric peeking through, you may have pulled too tightly, the number of floss strands is not enough, or your fabric is not the correct size.

And that’s it! That is traditionally how it is stitched. HOWEVER…
When I make a mistake – which happens every so often – I find it difficult to undo a color without taking out the entire row. Enter – Rebel Cross Stitching. Instead of completing all the stitches leaning to the right and going back over with the stitches leaning left, I complete each X individually.
That way when I do make a mistake it is very easily removed. Do I make enough mistakes to justify this? No, not really. But I am also ridiculously impatient. I personally prefer to do it this way.
Here is a look at the back of a row traditionally stitched stitches on the bottom. Nice, neat, and uniform.
At the top is a row of my rebel cross stitching X’s. Slightly chaotic

Here is a view from the front.
The top was stitched each X individually, rebel style.
The next row was done stitching all left to right, then completing the stitches going from right to left. As described at the beginning.
The lonely bottom stitch is to show what can happen when the floss is pulled too tightly.

Now that you have completed your work with a color, what do you do?
Once done, DO NOT KNOT! Again, knots just get in the way, Instead, with the needle at the back of your work, pass the needle through the back of a few completed stitches. Cut closely without snipping any stitches.

Bonus Tips:
Cross-stitching can be a delicate matter. These materials are no match for brute, frustrated strength. Don’t try to force the floss through. If it’s snagging, it might be twisted and starting to form a knot – the enemy! Go slow and regularly check the length of floss. Letting the needle dangle every once in a while to untwist can help.
Try not to pull too tight to ensure that all the stitches are even.
You do not need to only stitch in horizontal rows. Continue in a single color as long as the stitches are within close proximity. You don’t want to jump all the way across your fabric.

Can you tell what my big cross-stitch project is? If you have any questions, don’t hesitate to ask!

