
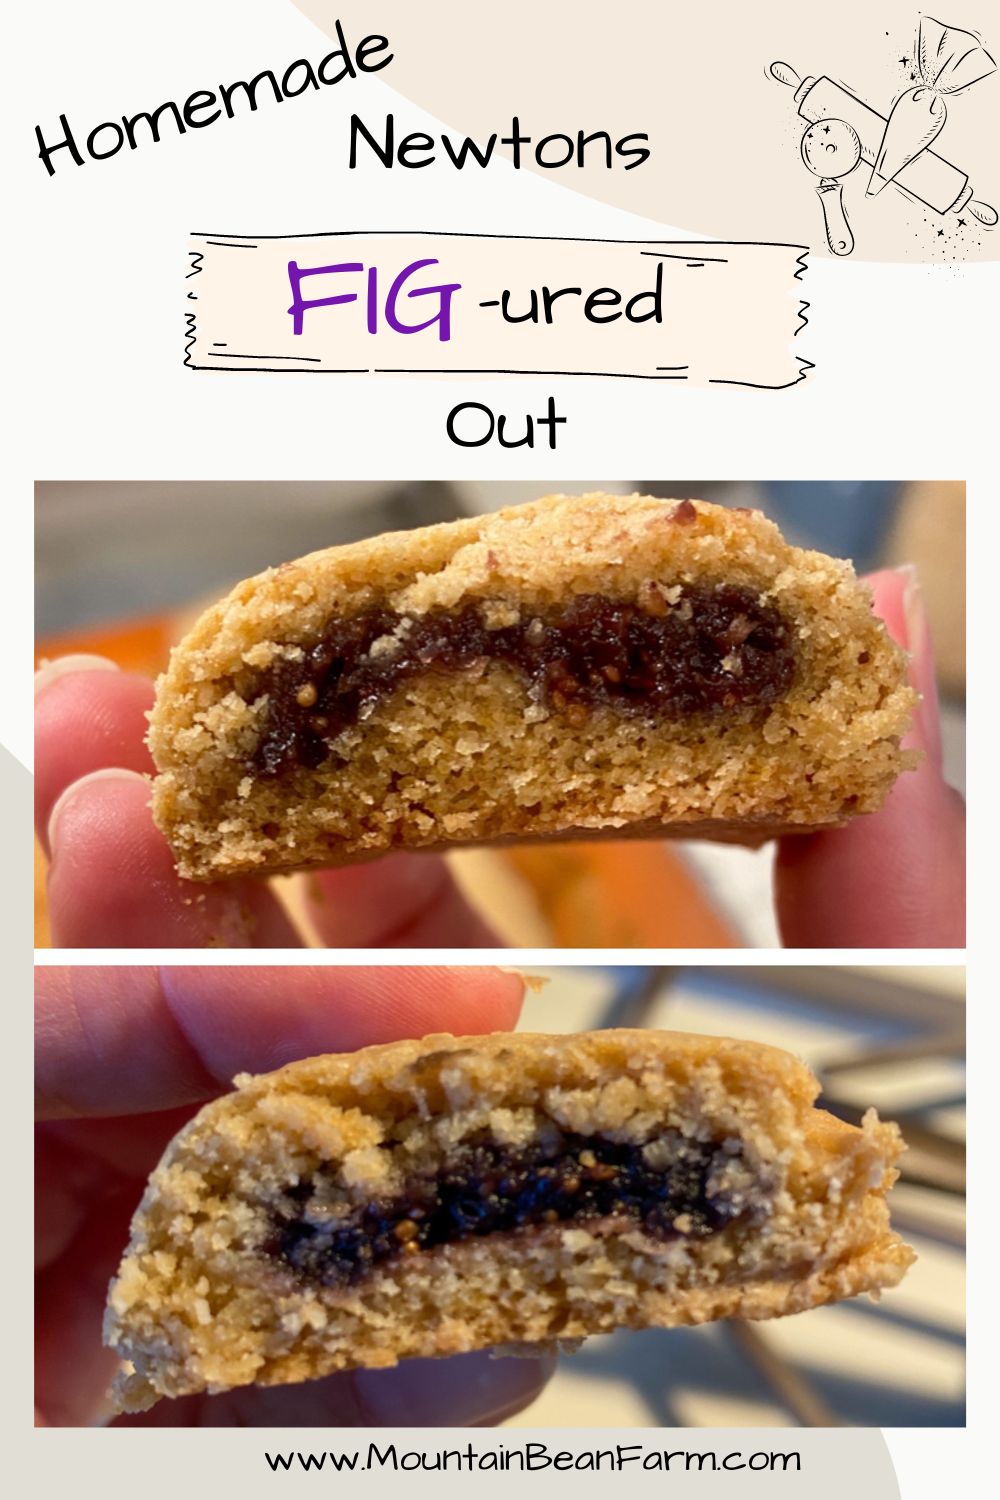

Homemade Fig ‘Newton’ Bars
Ingredients
Equipment
Method
- Make sure to drain as much liquid from fig puree as possible. If using preserves, skip this step.
- In a large bowl, cream together butter and brown sugar until light and fluffy. About 3 minutes.
- Add baking soda, salt, cinnamon, honey, and orange zest. Beat until light and fluffy again; another 3 minutes.
- Add egg yolks one at a time. Beating between each addition.
- Sprinkle in flour, folding gently, until well combined.
- Form dough into a disc as you would pie crust. Wrap in plastic wrap and refrigerate at least 1 hour and up to 1 week. Allow dough to sit out 30 minutes before use.
- If using fresh puree, add sweetener and cinnamon. Be sure to give it a taste! Once it's to your liking, scoop filling into the quart storage bag and set aside.
- Preheat oven to 350 degree F
- If dough is still too chilly, knead it gently until it is pliable.
- Dust silicone mat or parchment covered work surface with flour and roll dough into an 8" square.
- Sprinkle both sides of dough with flour and continue to roll into a 8"x15" rectangle.
- Brush off excess flour and cut into 3" thick strips with a pizza cutter on the short side; 8" long strips, 3" wide.
- Cut one corner of the fig-filled bag until the opening is about 1/2" long.
- Evenly pipe filling down the enter of each strip.
- Using the bench scraper to help fold over each side of the strips, over top of the filling. **If dough has become to warm, place in freezer for 15 minutes.
- Carefully, still using the bench scraper, roll each folded strip over; seam-side down. Press down slightly, flattening each strip to get that iconic shape.
- Transfer long fig bars, do not cut yet, along with silicone mat or parchment onto baking sheet.
- Bake for 15-18 minutes.
- Directly after pulling bars from oven, use bench scraper to slice bars into 1" pieces.
- Transfer into a air-tight container. Place a piece of wax paper between layers. DO NOT overlap bars directly onto each other, they will stick together and tear when pulled apart.
- Tightly secure lid and let sit on the counter for at least 6 hours before eating. This allows them to become very moist and chewy.
- After 48 hours, place in the fridge. Will last up to 1 month in the fridge or 6 months in the freezer.
Notes
- If using fig preserves, there is no need to add any sweeteners. Depending on the preserves, still add cinnamon if you’d like. There is also no need to drain extra moisture from preserves. They are usually thick and dry enough.
On our journey to rely on grocery stores as little as possible, I’ve learned a few tricks to making some of our favorite treats. Fig Newtons are one of them.
I first found this recipe on Pinterst, tired it, and wanted to cry after vowing never to make these things again!! Though, now I can’t find where I got the original. In the end, I tweaked the recipe and process a bit.
But they were so yummy, I had to try again. Jump ahead a few years, I am here to impart my newton-making wisdom so that your blood pressure doesn’t boil over like a pot of unsupervised pasta.
Warning: these are time consuming and fickle. If you try and rush these, they will literally fall apart.
We have a fig tree and an abundance of figs. A good majority ending up as puree in our freezer. So I have never made this recipe from canned fig preserves or fresh-never-frozen puree. So the first step has some wiggle room.
P.S. for those of you, like myself, who have an aversion to the word moist, I apologize.
Prep the Puree
If you are using prepared fig preserves, this step might not be necessary. BUT, fresh figs contain a good amount of liquid. Especially fresh figs that have been pureed, frozen, and thawed.
The night before, I begin by draining the liquid out of my thawed puree. Using a fine mesh sieve, fine mesh cheesecloth, and a bowl. Yes, a sieve and cheesecloth are a bit redundant. For me it is easier to use the cheesecloth to transfer the puree than scraping it out of the sieve. One or both, either work just the same.

Drain fig puree in cheese cloth and/or a sieve sitting in a bowl. This step is completely necessary! If you try to put a filling into your newtons that is too wet, no matter how hard you try it WILL leak out.
Even this small amount makes the differences between moist, fruit filled newtons and moist, hardly-any-fruit-inside newtons.

Making the Dough
Cream together butter and brown sugar until light and fluffy; about 3 minutes.
Add baking soda, cinnamon, honey, orange zest, and orange juice. Beat another 3 minutes.
Once light and fluffy add egg yolks one-at-a-time, mixing after each addition. You can also use a stand mixer, but mine is ancient and can wake the dead. I prefer to use my hand mixer.

Sprinkle in flour until well combined. I personally, like to use a spatula to mix in the flour . The dough should be moist but not sticky. Wrap the disc in plastic wrap and stick it in the fridge for 1 hour (or up to a week).

I have never tried to freeze it, but there’s only one way to learn…
(I still have yet to freezer it. If you have, let me know how it turned out!)
TAKE THE DISC OUT 30 MINUTES BEFORE YOU ARE READY TO WORK WITH IT.
So leave yourself an hour and a half from the time it hits the fridge to being ready to start the newton-ing process.
Prepare the Filling
This is mainly for those using fresh fig puree.
Side note: you do not have to peel figs before throwing them in a blender or food processor! Just give them a good wash.
Another option is to take take dried figs and rehydrate them. Here are a few methods to do that.
- Cover with boiling water in a bowl and allow them to sit until soft; 2-4 hours.
- Actively boil on stove top for 10-15 minutes
- Cover with water in a microwave safe bowl and microwave in 60 second intervals until soft and tender.
- You don’t have to use water to re-hydrate. You can also use juice, alcohol (the alcoholic percentage will cook off)
Then simply puree as you would fresh figs. Some liquid may need to be added, just make sure to drain puree before adding to the dough.
Take your puree and add brown sugar and cinnamon to your puree to taste. Start small, about 1 tsp of sugar and go from there. Then add a dash of cinnamon or two. If using prepared preserves, this step might also be skipped. But it is your treat that you are going to eat, make sure it makes your taste buds happy. Puree or preserves a bit stiff or lack moisture? Heat it a bit on the stove. It will have plenty of time to cool while the dough is chillin’.

Assembly
Preheat oven to 350 degrees F.
Here is where it got frustrating for me until I learned a few tricks. Like most refrigerated dough, if it is not ready to be worked, it will let you know. If it has been sitting out too long, it will apologetically stick to your rolling pin.
Adversely, if you try to roll it out directly on the lightly-floured counter top or table, you will want to cry. Even perfect-temperature dough will not move in one piece when you try to transfer it to the baking sheet.
Yes, I live in the hot desert, but I have made this during all seasons. Even with a 65-degree house, the dough still said NO.
I pull out a nice sheet of parchment to roll out the dough. Problem. Parchment moves! Anchor it down on both ends with heavy jars. Viola!
Roll dough out to a 15” square. Yes, I absolutely use a ruler because I am horrible at guess-timating measurements. Does it have to be exact? No. But you do not want your dough too thick.
Cut into strip 3” in width. The best tool I have found to do this with is a pizza cutter using the straight edge of the ruler as a guide. I am also horrible at free-hand cutting a straight line.

Either put the filling in a piping bag with no tip or a plastic sandwich bag and snip off a corner to be able to make about a ½” wide line of filling. Pipe straight lines down the length of each 3” wide panel in the middle.
Careful, too much filling and it will begin to spill out once the bars are closed.

Folding the Dough
Remember how nicely we rolled the dough out on parchment? Using that advantage, slide a backing sheet underneath and pop it back into the fridge for 5 minutes.
Here’s where it can become a judgement call. If you feel your dough is still relatively cool after all that manhandling, by all means, proceed. If the dough is too warm when you try to fold it, it will crack, fall apart, cause newton-making to become not so fun.

When chilling, same rules apply. Dough will let you know if it is too cool or warm to be worked with properly. If you put it in the fridge and ‘forgot’ about it, let it sit out until the dough is workable.
Do this on both sides of the filling. Making sure all filling is covered and sealed.

Roll your newly-sealed newton roll until it is seam-side down. Personally, I like to roll it on a silicone backing sheet. Personal preference – I like baking on silicone rather than parchment. Either will work just as well as the other. These do not spread out significantly, as long as they are not touching and have about a half an inch between them, you should be fine.

Repeat for each panel.
Once rolled, press lightly to give them the ‘newton’ shape – flat on top and bottom with rounded edges.
Bake for about 18 minutes. They will be slightly golden and feel a bit dry. That is what you want.
But fig newtons aren’t dry!!
Here’s another important part.
And it is crucial. The moment you pop them out of the oven cut them!
Using the food scrapper, or very sharp knife, cut into 1” pieces. Do NOT saw back and forth. They are crumbly and a bit dry – they’ll fall apart. After all that work, you don’t want it to fall apart now, literally.

Look how pretty!

Then, immediately put them in an airtight container with wax paper or parchment paper between the layers. Cover and DO NOT touch for at least 6 hours.
Leave at room temperature. This will trap the heat and escaping moisture placing it back into the newton. Resulting in a beautifully moist and delicious homemade fig bar.

They will last up to a month in the refrigerator. If you still have some left or want to make a whole bunch to gift during the holidays (wink, wink), they freeze wonderfully. Pop them in the microwave for up to 10 seconds and they will melt in your mouth as if they were freshly baked.
I realize that I might have made this seem like a daunting task. It is not!! It just takes a bit of time and it is completely worth it!!!
I like to make these in between baking other things. Giving me the time they spend in the fridge to make something else yummy. Like corn tortillas for our freezer!
Give these wonderful treats a try. Experiment with different fillings. I have been wanting waiting for summer to try a fresh berry filling or apricot!!

